I started with stripping the machine apart, taking all the panels off and then the bell, margin release, and bar. Then the ENTIRE tab construction. The carriage belt i loosened so i could work on the escapement and ended up cleaning the whole thing up. I'll tell a bit with each picture.
----------------------------------------------

The place where i was working. This image was taken just after the process of taking the parts off.

Turtle Wax saved my life. My grandfathers '45 Olympia Elite was suffering from oxidation, but with this stuff, i got the whole thing polished again. It looks awesome and really have to thank Richard Polt with his basic typewriter restoration page. Thank you Richard!!!

The guts, that's all there is to say.

The front, back and side panels and the keyrest, all layed out. One side panel, as you can see, already has some wax on it.

Cleaning the keys with a toothbrush. I really recommend a toothbrush for the keys, as the hairs are quite firm and really get into the small parts of the keys.

A polished margin release, (i still have to wax the paint in this picture)

The typebasket was already rather clean. Just polish the chrome.

The escapement of the typewriter, in the picture below, you can't see it because of the metal painted part. Tilt your head sideways to the left, and you get the picture, horizontal.

See, only the backspace mechanism is visible. Goodlooking inside, right?

The escapement. This is usually covered up by a metal cover.

Those two parts on top of the typebasket were really rusted. Did you know vinegar is one of the best removers for rust i've ever seen?

Dirty...

...clean.

The most rusted part on the machine. The tab bar. I removed the whole thing, and let it soak overnight in vinegar, and the next morning...the rust wiped right off. A picture further below to see what it looks like after.

Bad picture. It was supposed to show the glossyness.
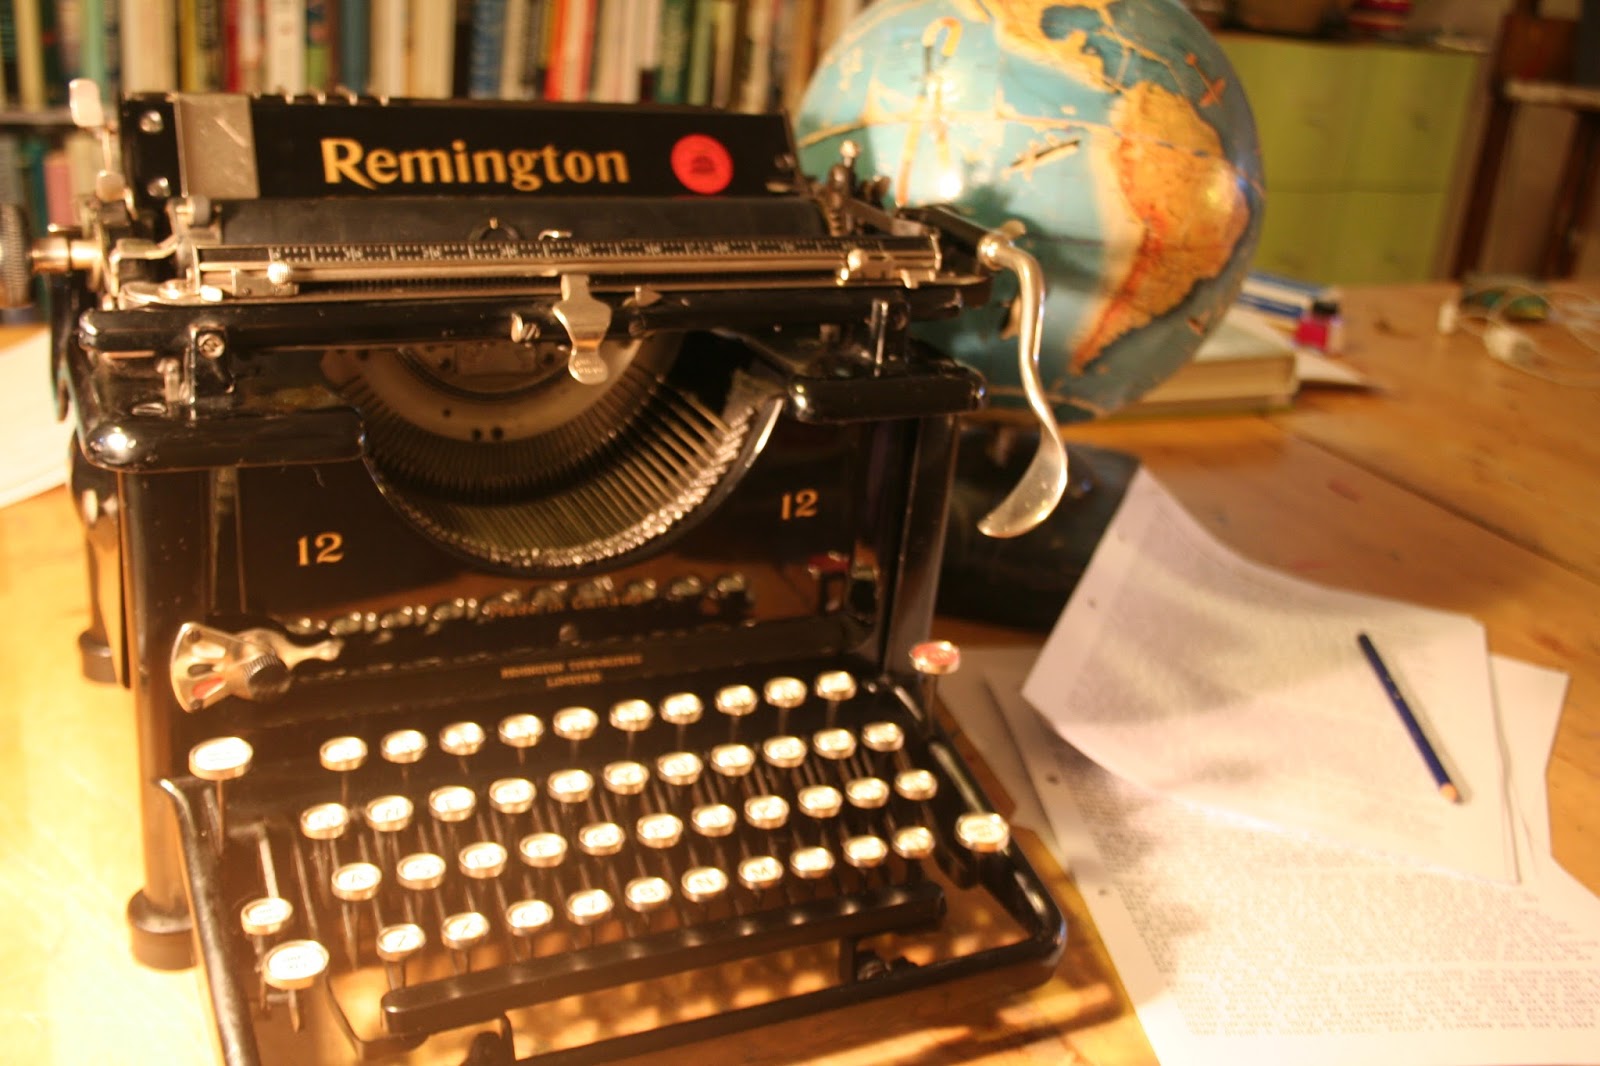
After this i started making a bit of a photoshoot when it was finished. The gloss on this typewriter had survived the abuse the paint has received over the years. The panels all were in good shape, and it was mostly the body that had some chipping of the paint. Again, thanks to RICHARD POLT, i managed to touch it up a bit with a black marker. The marks were really petite.
Enjoy.
______________________________________________
/\/\/\/\/\/\/\/\/\/\/\/\/\/\/\/\/\/\/\/\/\/\/\
----------------------------------------------
MY 1926 REMINGTON #12


I'm glad my page was helpful. The machine looks really beautiful!
ReplyDeleteIt really was.
DeleteCheers
Looking good!
ReplyDeleteKeychoppers should view this and feel ashamed of themselves. Great work!
ReplyDeleteThanks
DeleteLooking great! Any reason why you chose the paste over the liquid wax?
ReplyDeleteDefinitely, the past is better to control. The spray and liquid might dribble into places where it shouldn't go, even with a rag. These machines have many tiny places where it go into and cause damage. The paste just works better, although it is more difficult to get off. I might give the liquid a try anyways after I am through this jar.
DeleteLooks great!!
ReplyDeleteBeautiful machine, and great restoration job! You seem to be very meticulous! Thanks for the vineger tip.
ReplyDeleteSo true. Thanks for your comment.
Delete